
A Peek Inside My Gardening Journey
I started my first time gardening journey back in Spring 2021. To say I was intimidated to get started would be an understatement. One thing was critical in pulling me through though…asking for help! I asked an old neighbor to help me build my raised garden beds, and I asked friends for help with what items to buy. I even had a friend come and help me plant my seeds. Let this be a reminder that there is always help around us.
It is so rewarding to plant a tiny seed and then to watch it grow over time. It’s even more rewarding to pick vegetables from your own garden and to prepare a meal with them. Now, my first time gardening wasn’t without challenges though. I planted 6 vegetables and only 2 grew — my kale and cucumbers. To this day, I don’t know what happened with the other 4, but it didn’t deter me from trying again. So here I am, 2 years later trying again. This time, I planted 4 veggies in a new raised garden bed — kale, broccoli, carrots and lettuce. The same as last time, I got some help…from the staff at Home Depot, my husband and good ole Google. I’m excited to see all 4 veggies sprout this time, and I’ll be sure to report back. In the meantime, I wanted to share my overall process from start to finish:.
1. Choose the Location
The first step in establishing your small vegetable garden is selecting the right location. The most critical factors to consider are sunlight, water access, and soil quality.
Sunlight: Most vegetables require at least 6-8 hours of direct sunlight each day. Observe your outdoor space throughout the day to identify the sunniest spot.
Water Access: Your garden should be close to a water source, as consistent watering is essential for plant growth. If you're limited by access, consider using a hose or watering cans.
Soil Quality: Good soil is the foundation of a healthy garden. I used organic raised garden soil from Lowes along with organic fertilizer from Home Depot to promote growth.
2. Choose Your Vegetables
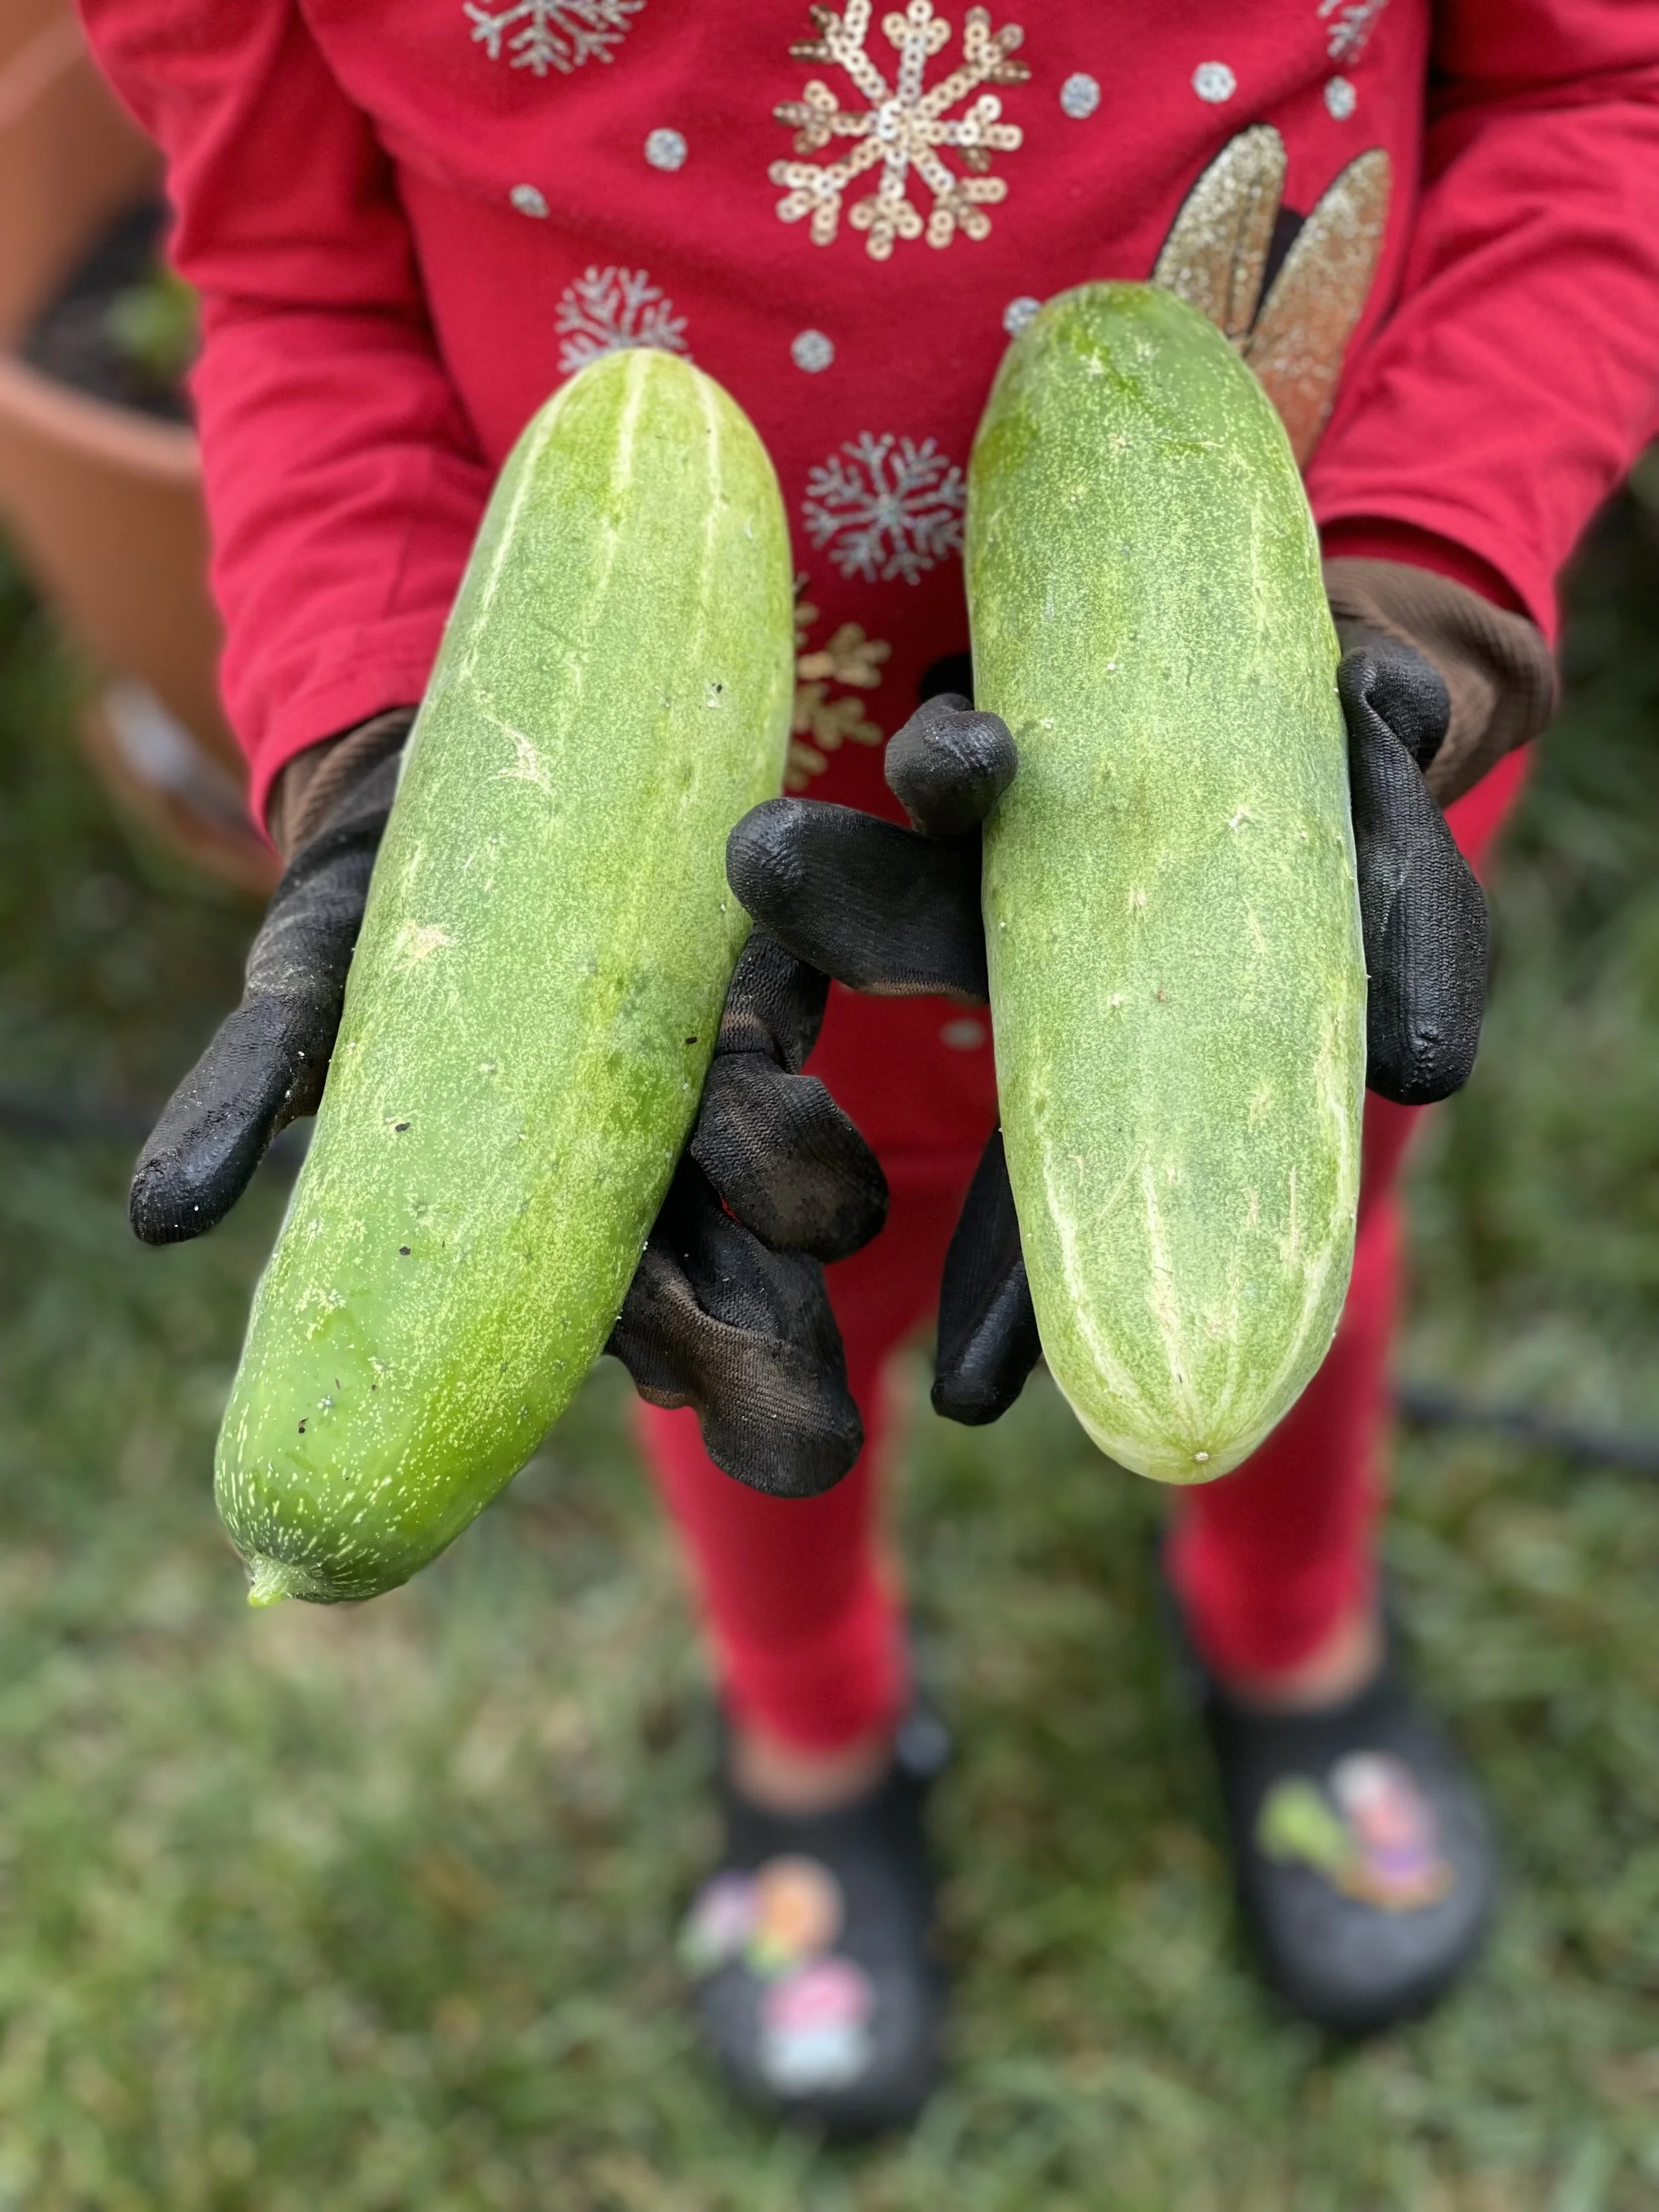
I’m no expert on what vegetables to choose, but as mentioned prior, I had great success with my kale which was quick to grow and harvested multiple times throughout the season. My cucumbers were also a success, too. I purchased seed packs from Lowe’s, Home Depot and Homestead Gardens.
3. Prepare Your Garden Bed
Once you've chosen your location and vegetables, it's time to prepare your garden bed. I chose raised beds and containers. You can build your raised beds with wood, or you can simply buy your beds or containers, which is the route I went this second go round. Once you have your bed ready, then you add the soil.

4. Plant Your Vegetables
Follow the planting instructions on the seed packets or plant labels. Pay attention to spacing requirements, as overcrowding can lead to stunted growth and disease. This could have been my issue with the plants that didn’t grow, but who knows.

5. Water
Proper watering is crucial for your vegetable garden's success. Water your plants deeply and consistently, preferably in the morning to prevent fungal diseases.
6. Maintain Your Garden
Regular maintenance is key to a thriving vegetable garden. My husband was the one who primarily did this the first go round. Here are some essential tasks:
Weeding: Keep your garden free of weeds that compete for nutrients and water.
Pest and Disease Control:** Monitor your plants for signs of pests and diseases. Early detection and appropriate action are essential to prevent damage.
Pruning and Staking: Provide support for tall or vining plants like tomatoes and cucumbers. Prune excess growth to promote better airflow and reduce the risk of disease. I didn’t have to do staking since there was a tall layer of chicken wire around my garden; however, I may need to do that this time.
7. Harvest Your Bounty
As your vegetables mature, enjoy the satisfaction of harvesting your homegrown produce. Harvest at the peak of ripeness for the best flavor and nutritional value.

I literally had know idea what I was doing, but I found my way and continue to do so in my gardening journey. I hope this encourages you to try it yourself come the Spring.
Have a glowing day!